One thing I never considered when I first got into gardening, was how I was going save and preserve the food I was growing. Out of all the things I planned for, spent money on and studied about…preserving just didnt cross my mind. Perhaps this was mostly because I thought to myself…“well, I wont be growing THAT much”
Yea. Lets all take a moment to laugh that one off.
Theres always too much coming in, even when youre gardening in a small space like we are! Preserving can be extremely daunting with all the ways to do it! Canning (pressure + water bath), freezing, fermenting, pickling, freeze drying…It can be really overwhelming at first.
So, lets take a breath and start with the absolute basics! Dehydrating!
I love dehydrating because its extremely easy, and doesnt require a lot of materials or investment at first. Many people get by with just using their ovens on the lowest setting possible, and that works really well too.
I opted for a cheap food dehydrator right from Amazon: Elite Gourmet EFD319 Food Dehydrator
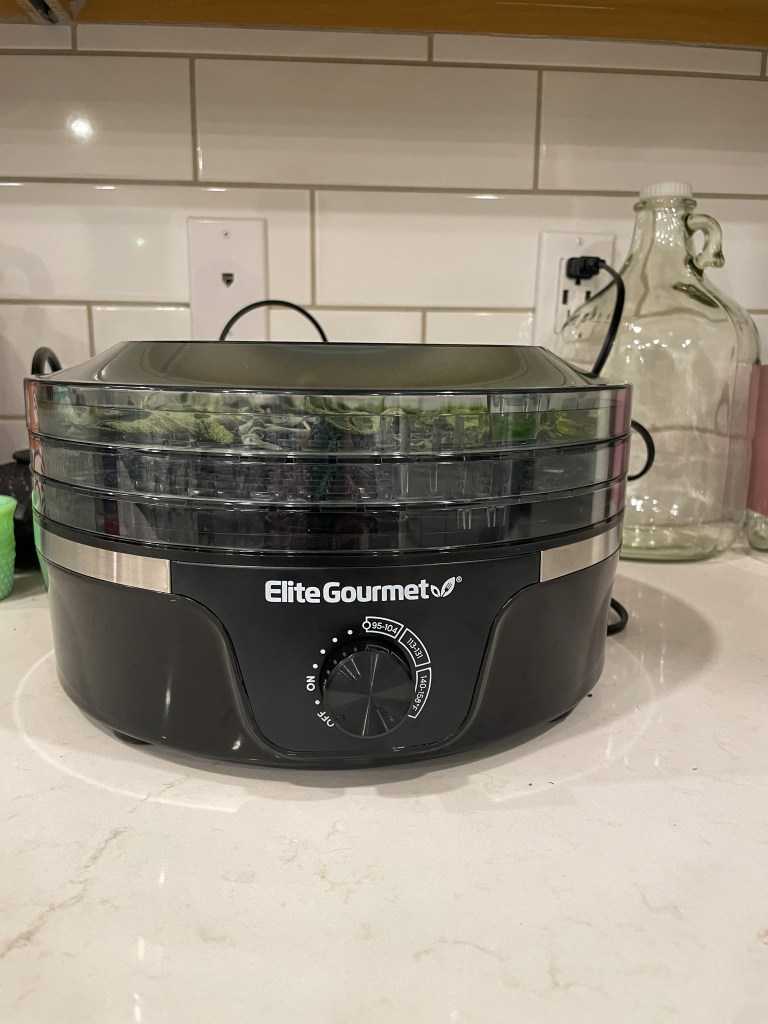
Lets start with some info on using a dehydrator like the one above. If you only have an oven, scroll below for oven instructions!
I started with Herbs, so thats what we will go over today! Most of the temps will be the same for many herbs, with the times being variable. This is fine, and I always end up drying multiple herbs in different trays, while keeping track of the times.
Here are the herbs ive had really great success with:

- Basil: Basil is a popular herb known for its fresh, peppery taste and versatility in various cuisines. To dehydrate basil, follow these steps:
- Preheat your food dehydrator to 95°F (35°C).
- Spread the basil leaves in a single layer on the dehydrator trays.
- Dehydrate for approximately 2 to 4 hours until the leaves become brittle and crumble easily.
- Thyme: Thyme is renowned for its earthy and slightly minty flavor, making it an essential herb in many dishes. Here’s how to dehydrate thyme:
- Set your dehydrator to 95°F (35°C).
- Arrange the thyme sprigs in a single layer on the trays.
- Dehydrate for about 1 to 2 hours until the leaves are dry and easily crumble upon touch.
- Rosemary: Rosemary adds a delightful pine-like aroma to dishes and pairs wonderfully with meats and roasted vegetables. To dehydrate rosemary:
- Preheat your dehydrator to 95°F (35°C).
- Remove the rosemary leaves from the stems and place them on the trays in a single layer.
- Dehydrate for approximately 1 to 2 hours until the leaves are dry and brittle.
- Mint and Lemon Balm: Mint and lemon balm share similar dehydrating methods due to their related botanical families and refreshing flavors.
- Set your dehydrator to 95°F (35°C).
- Spread the mint or lemon balm leaves in a single layer on the trays.
- Dehydrate for about 1 to 3 hours until the leaves are thoroughly dry and crumble easily.
- Oregano: Oregano boasts a robust and pungent flavor profile, especially in Mediterranean dishes. Here’s how to dehydrate oregano:
- Preheat your food dehydrator to 95°F (35°C).
- Arrange the oregano sprigs or leaves in a single layer on the trays.
- Dehydrate for approximately 1 to 3 hours until the leaves are dry and crumbly.
- Parsley: Parsley adds a burst of freshness to various dishes and is best preserved using the following steps:
- Set your dehydrator to 95°F (35°C).
- Spread the parsley leaves in a single layer on the trays.
- Dehydrate for about 1 to 3 hours until the leaves are thoroughly dried and easily crumble.
- Culantro (Mexican Coriander): Culantro, often confused with cilantro, has a stronger flavor and is widely used in Latin American and Caribbean cuisines.
- Preheat your dehydrator to 100°F (38°C).
- Arrange the culantro leaves in a single layer on the trays.
- Dehydrate for approximately 2 to 4 hours until the leaves are dry and crumbly.
- Chamomile and Valerian: Chamomile and valerian are well-known for their calming and relaxing properties, making them popular choices for herbal teas.
- Set your dehydrator to 95°F (35°C).
- Spread the chamomile flowers or valerian root slices in a single layer on the trays.
- Dehydrate for about 3 to 6 hours until the flowers or roots are thoroughly dry.
- Sage: Sage imparts a savory and slightly peppery flavor to dishes, and it’s often used in stuffing and meat dishes.
- Preheat your dehydrator to 95°F (35°C).
- Arrange the sage leaves in a single layer on the trays.
- Dehydrate for approximately 1 to 3 hours until the leaves are dry and crumbly.
- Chives: Chives offer a mild onion-like flavor and are frequently used to enhance soups, salads, and baked potatoes.
- Set your dehydrator to 95°F (35°C).
- Spread the chive stems or chopped chives in a single layer on the trays.
- Dehydrate for about 1 to 3 hours until they are thoroughly dried.
Now, if you have an oven, here are some tips for you!
- Preheat your oven: Set your oven to the lowest possible temperature, ideally around 150°F (65°C). Some ovens may not have a setting this low, so you can set it to the lowest temperature available.
- Prepare the herbs: Wash and thoroughly dry the herbs you want to dehydrate. Remove any damaged or discolored leaves, and gently pat them dry with a paper towel.
- Arrange the herbs: Place the herbs in a single layer on a baking sheet or a wire rack. Ensure they are not overcrowded to allow for proper airflow and even drying.
- Keep the oven door slightly ajar: To mimic the airflow of a dehydrator, prop the oven door open slightly using a wooden spoon or a folded oven mitt. This will allow moisture to escape and promote better drying. But please do not leave your oven unattended!
- Monitor the herbs: Check the herbs regularly, as the drying time will vary depending on the herb’s moisture content and the oven’s temperature. The drying process may take anywhere from 1 to 4 hours.
- Test for dryness: To determine if the herbs are fully dehydrated, touch them to see if they crumble easily. If they still feel moist or leathery, they need more time to dry.
- Cool and store: Once the herbs are completely dry, remove them from the oven and let them cool to room temperature. Store the dehydrated herbs in airtight containers or resealable bags in a cool, dry place away from direct sunlight.
Keep in mind that some herbs may take longer to dry than others, and the final quality may not be as consistent as using a dedicated food dehydrator. Nevertheless, dehydrating herbs in a basic oven can be a cost-effective and practical way to preserve your favorite herbs when a dehydrator is not available. Enjoy the delightful flavors and aromas of your homemade dehydrated herbs in various dishes and teas throughout the year!
And thats it! If you would like more preserving tips as I learn them as well, check back around these parts. As I learn, ya’ll will learn too 🙂
Happy preserving!
